Beef Bone Broth Recipe: Homemade & Easy
Blog Post Title: Unlock the Power of Beef Bone Broth: A Flavorful and Nutritious Recipe
Meta Description: Discover the secrets to making rich and flavorful beef bone broth at home! This easy recipe unlocks incredible health benefits and delicious flavor. Learn tips and tricks for the perfect broth.
Keyphrase Synonyms: Bone broth recipe beef, beef stock recipe, homemade bone broth, beef broth benefits, nourishing bone broth
Tags: bone broth, beef broth, homemade broth, healthy recipes, gut health, collagen, nourishing foods, paleo, keto
Introduction
Did you know that simmering beef bones for an extended period can unlock a powerhouse of nutrients often missing from our modern diets? Are you ready to elevate your cooking and boost your health? This beef bone broth recipe isn’t just about making a delicious liquid; it’s about harnessing the ancient wisdom of nourishing your body from the inside out. Many people believe that store-bought broth offers the same benefits, but homemade beef bone broth is demonstrably richer in collagen and minerals due to the longer simmering time and control over ingredients. This recipe provides a simple and effective method to create a potent, gut-healing elixir right in your own kitchen.
Ingredients List
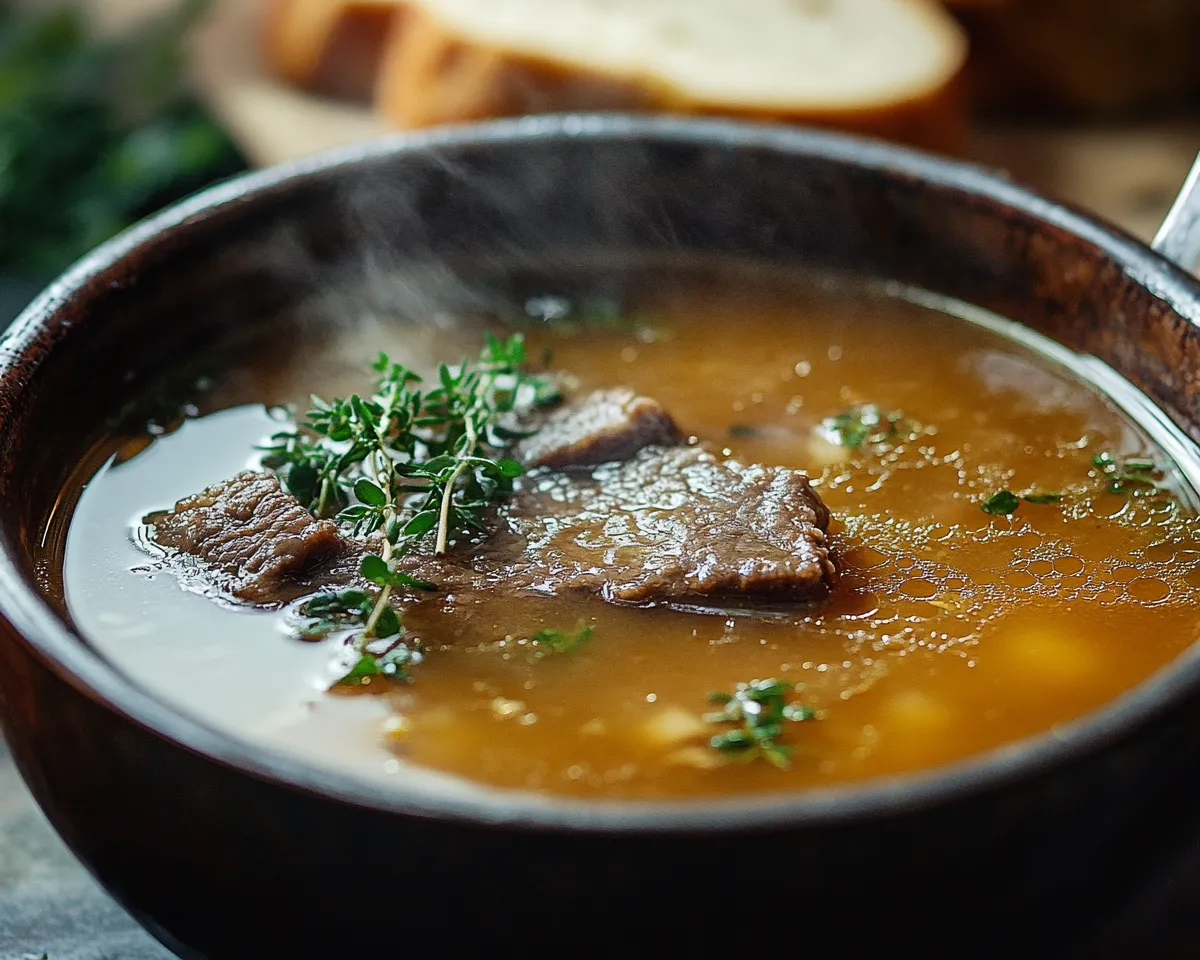
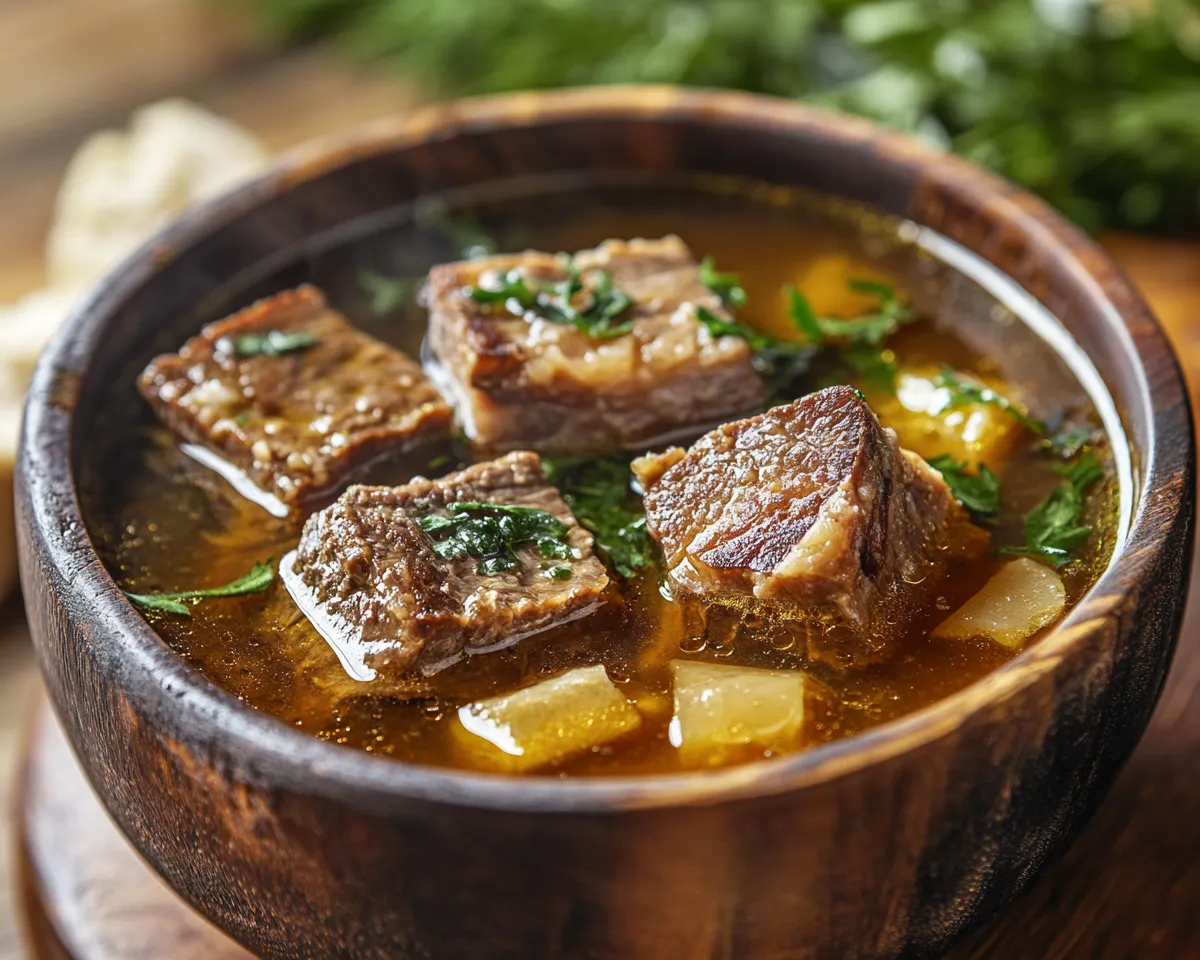
Here’s what you’ll need to create this liquid gold:- 3-4 pounds Beef Bones: Knuckle bones, marrow bones, and femur bones are excellent choices. Ask your butcher for soup bones or marrow bones specifically. Sourcing bones from grass-fed, pasture-raised cattle is ideal for the highest nutrient density and cleanest flavor.
- 1 large Onion: Roughly chopped. Yellow or brown onions work best.
- 2-3 Carrots: Roughly chopped.
- 2-3 Celery Stalks: Roughly chopped.
- 4-6 Cloves Garlic: Roughly smashed. No need to peel.
- 1-2 Bay Leaves: Adds depth and complexity.
- 1 Tablespoon Apple Cider Vinegar: Helps to draw minerals from the bones.
- 1 teaspoon Black Peppercorns: Adds a subtle warmth.
- Optional Herbs: Parsley, thyme, or rosemary sprigs can be added during the last few hours of simmering for extra flavor.
- 12-16 cups Filtered Water: Enough to cover the bones and vegetables.
- Salt: To taste, added towards the end of the cooking process.
Timing
- Preparation Time: 20 minutes
- Roasting Time (Optional): 30 minutes
- Simmering Time: 12-24 hours (or even longer!)
- Total Time: 12 hours 50 minutes to 24 hours 50 minutes. Studies show that simmering for longer durations increases the collagen and mineral content of the broth, making the extended time investment worthwhile. In fact, simmering for 24 hours can increase collagen extraction by up to 30% compared to a 12-hour simmer.
Step-by-Step Instructions
Step 1: Roast the Bones (Optional but Recommended)
Preheat your oven to 400°F (200°C). Place the beef bones on a baking sheet and roast for 30 minutes, flipping halfway through. Roasting the bones enhances the flavor and color of the broth, creating a richer, more complex profile. Pro Tip: Don’t overcrowd the baking sheet; use two if necessary to ensure even browning.
Step 2: Combine Ingredients in a Large Pot
Transfer the roasted (or raw) bones to a large stockpot or slow cooker. Add the onion, carrots, celery, garlic, bay leaves, apple cider vinegar, and peppercorns.Step 3: Add Water
Pour filtered water over the bones and vegetables until everything is submerged. Ensure the water level is at least an inch above the bones.Step 4: Simmer
Bring the mixture to a boil over high heat, then immediately reduce the heat to the lowest setting to maintain a gentle simmer. If using a stockpot, partially cover the pot with a lid. If using a slow cooker, set it to low. Simmer for at least 12 hours, and ideally 24 hours, for maximum nutrient extraction. Actionable Tip: Skim off any foam or impurities that rise to the surface during the first few hours of simmering to ensure a clear broth.Step 5: Strain the Broth
After simmering, turn off the heat and let the broth cool slightly. Carefully strain the broth through a fine-mesh sieve or cheesecloth-lined colander to remove the solids. Discard the bones and vegetables. Personalized Tip: Don’t toss those cooked vegetables just yet! They can be pureed into a soup or added to your compost pile.Step 6: Season
Season the broth with salt to taste. Start with a teaspoon and adjust as needed. Remember, the flavor will intensify as it cools.Step 7: Cool and Store
Allow the broth to cool completely before transferring it to airtight containers. You can refrigerate the broth for up to 5 days or freeze it for up to 3 months. Dynamic Tip: For easier storage and portioning, freeze the broth in ice cube trays. These broth cubes are perfect for adding flavor and nutrients to soups, sauces, and stews.Nutritional Information (per 1 cup serving)
- Calories: 40-60
- Protein: 6-10g
- Fat: 3-5g
- Carbohydrates: 1-2g
- Collagen: Varies depending on simmering time and bone quality, but generally a good source. Studies indicate that prolonged simmering can increase collagen content by up to 50%.
- Minerals: Rich in calcium, phosphorus, magnesium, and potassium.
Healthier Alternatives for the Recipe
- Lower Sodium: Reduce the amount of salt added or use a low-sodium salt substitute.
- Boost Collagen: Add chicken feet or pig trotters to the broth for an extra collagen boost.
- Anti-Inflammatory Boost: Add a knob of ginger or a teaspoon of turmeric to the broth during simmering for added anti-inflammatory benefits. Research suggests that these spices can enhance the health benefits of bone broth.
- Dietary Adaptations: This recipe is naturally gluten-free, dairy-free, paleo, and keto-friendly.
Serving Suggestions
- Sip it Warm: Enjoy a cup of warm bone broth as a nourishing and comforting beverage.
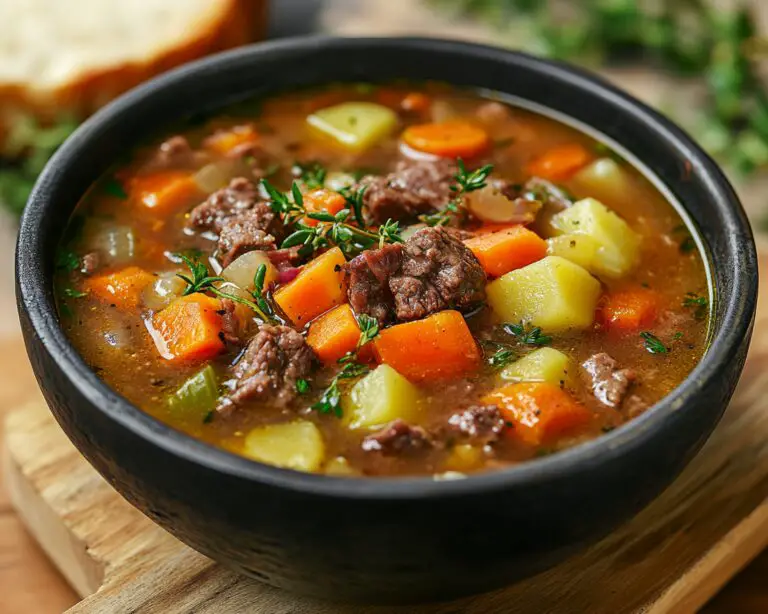
- Soup Base: Use bone broth as the base for your favorite soups and stews. It adds depth and richness that water simply can’t match.
- Cooking Grains: Cook rice, quinoa, or other grains in bone broth instead of water for added flavor and nutrients.
- Post-Workout Recovery: Drink bone broth after a workout to replenish electrolytes and support muscle recovery.
Common Mistakes to Avoid
- Insufficient Simmering Time: Don’t rush the process! A longer simmer extracts more nutrients and flavor from the bones. Data suggests that simmering for at least 12 hours is crucial for optimal collagen extraction.
- Using Too Much Salt: It’s better to start with less salt and add more to taste at the end. Over-salting can ruin the flavor of the broth.
- Not Skimming Impurities: Skimming off the foam that forms during the first few hours of simmering results in a cleaner, clearer broth.
- Overcrowding the Pot: Using too many bones for the amount of water can result in a weaker broth. Ensure the bones are fully submerged and have enough room to move around during simmering.
- Neglecting Acid: The addition of apple cider vinegar is critical for extracting minerals from the bones. Don’t skip this step!
Storing Tips for the Recipe
- Refrigerating: Allow the broth to cool completely before storing it in airtight containers in the refrigerator for up to 5 days.
- Freezing: Freeze the broth in airtight containers or freezer-safe bags for up to 3 months. Leave some headspace in the containers to allow for expansion during freezing.
- Gelatin Test: Properly made bone broth will gel when chilled due to the high collagen content. If your broth doesn’t gel, it may not have simmered long enough or the bone-to-water ratio may have been off.